Step-by-Step Guide to Installing Your RV Solar Kit
Key Takeaways
- Familiarize yourself with all components of the RV solar kit before starting installation.
- Following safety guidelines and manufacturer instructions is crucial.
- Proper wiring is essential for optimal solar energy efficiency.
- Consider using a solar charge controller to protect your battery.
- Regular maintenance can extend the life of your solar power system.
Installing an RV solar kit is an excellent way to enhance your energy independence while you're on the road. Whether you're a newbie or an experienced RV enthusiast, this step-by-step guide will help you through the entire process of installing your solar power kit efficiently and safely. Let's dive into the details!
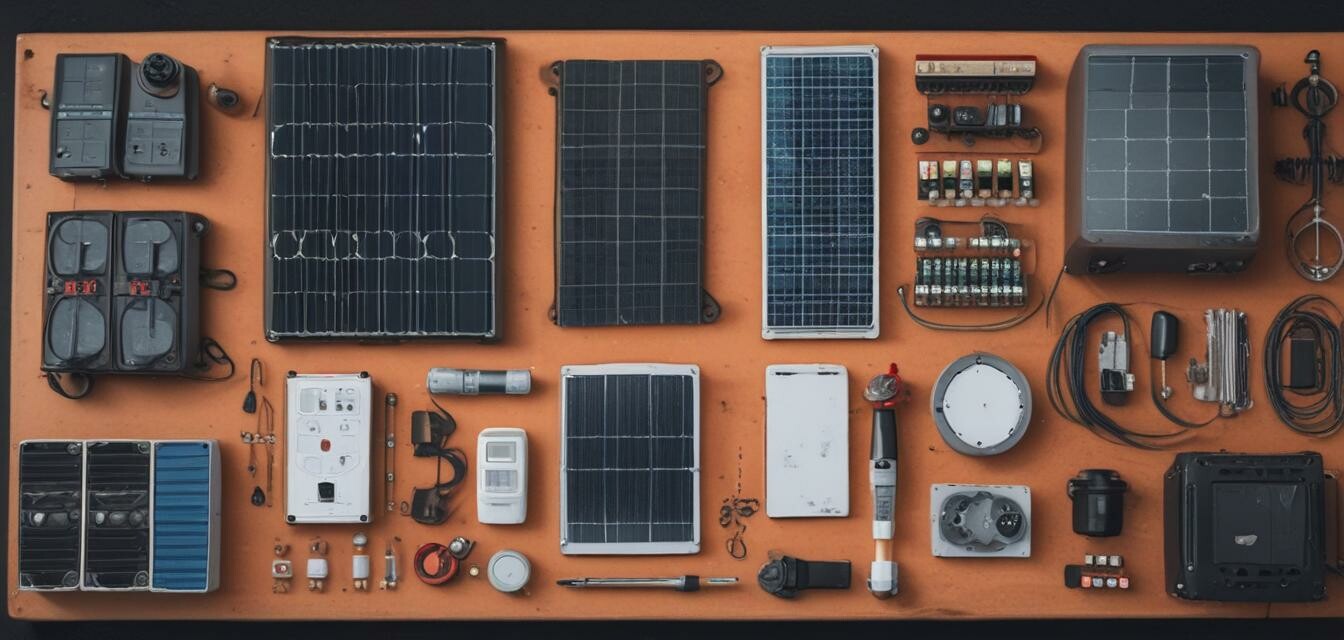
Understanding Your RV Solar Kit Components
Before you start the installation process, it's essential to understand the equipment you'll be working with. A typical RV solar kit includes:
| Component | Description |
|---|---|
| Solar Panels | Convert sunlight into electricity. |
| Charge Controller | Regulates the voltage and current coming from the solar panels to the batteries. |
| Batteries | Store the energy generated from the solar panels for later use. |
| Inverter | Converts DC power from the batteries to AC power for household appliances. |
| Mounting Hardware | Includes brackets, screws, and more to secure the solar panels to your RV. |
Preparing for Installation
Before you install your solar kit, perform the following preparations:
- Gather Tools: Make sure you have all the necessary tools, such as a drill, screwdriver, wire cutters, and extension cords.
- Read the Manual: Review the installation manual that comes with your solar kit for specific instructions.
- Check the Weather: It's best to install on a clear day to avoid complications with wet surfaces or wind.
Installation Steps
Now that you're prepared, follow these steps to install your RV solar kit:
Step 1: Choose the Installation Location
Choose a location on the roof of your RV that receives maximum sunlight without any obstructions. Measure this area to ensure your solar panels fit.
Step 2: Secure the Mounting Hardware
Using your drill, secure the mounting brackets to your RV roof based on the manufacturer’s specifications. Make sure they are tightly fastened to avoid movement during travel.
Step 3: Install the Solar Panels
Once the brackets are in place, attach the solar panels according to your kit's instructions. Ensure they are firmly attached to withstand wind and other conditions.
Step 4: Connect the Charge Controller
Connect the solar panels to the charge controller using the provided wiring. Follow the polarity markings to prevent any electrical issues.
Step 5: Connect the Batteries
Link the charge controller to your battery bank. Again, ensure you observe the correct polarity for positive (+) and negative (−).
Step 6: Install the Inverter
Finally, connect the inverter to the batteries. This allows you to convert the stored energy into a usable form for your RV appliances.
Safety Tips for Installation
To ensure that your installation is safe and effective, consider the following tips:
- Always wear safety gear, including gloves and glasses.
- Disconnect any power sources before starting the installation.
- If uncertain, consult an electrician or a professional with RV solar experience.
Common Pitfalls to Avoid
Learn from others' experiences by avoiding these common mistakes:
- Improper wiring can lead to inefficient operation or damage—double-check your connections.
- Neglecting the angle of the solar panels could reduce energy efficiency; ensure they are tilted properly.
- Not reading the manuals can result in missed important details—pay attention to those instructions.
Maintenance Tips for Your RV Solar System
To keep your solar power system running smoothly, perform regular maintenance:
Maintenance Tips
- Clean panels regularly to maximize sunlight exposure.
- Check connections and wiring for any signs of wear or damage at least twice a year.
- Monitor battery levels and ensure they are topped off as needed.
Conclusion
With the right knowledge and tools, installing an RV solar kit can be a straightforward process. This guide aims to prepare you for challenges that might arise along the way. Remember, investing time in proper installation will significantly enhance your adventures on the road. Once installed, you'll enjoy the benefits of solar energy while camping, traveling, or simply enjoying life off the grid. For more detailed information on different components, check out our guides on Complete Solar Systems and Buying Guides.