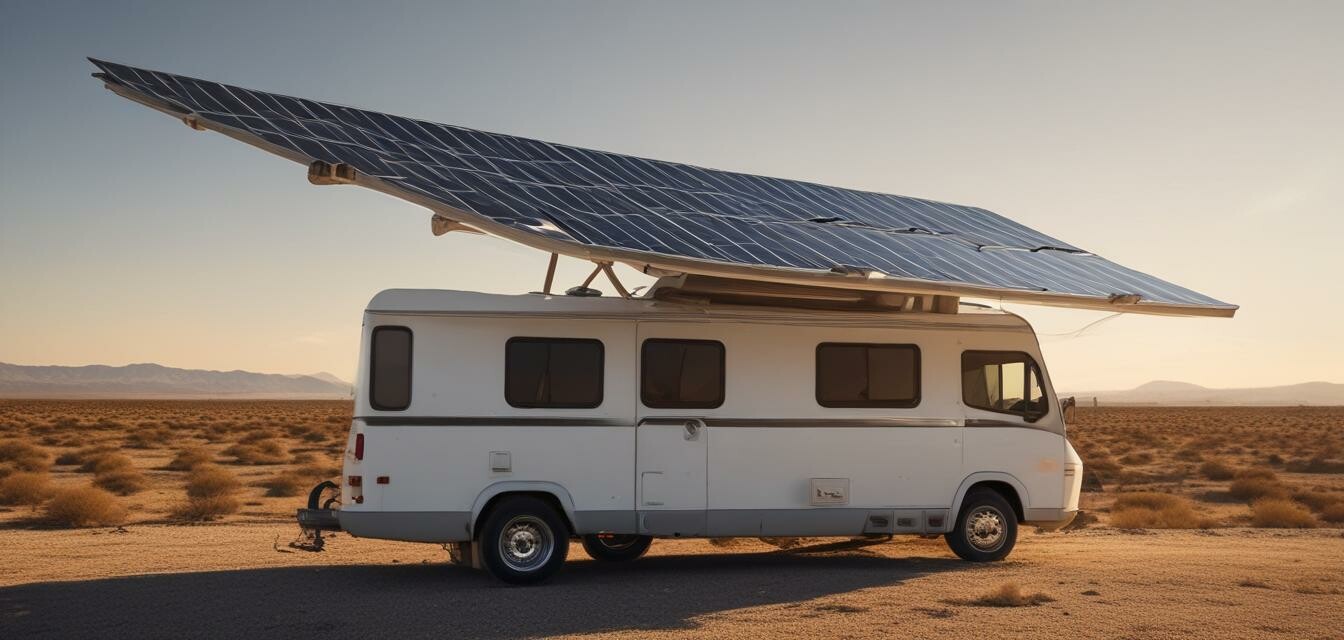
Installation of RV Solar Kits
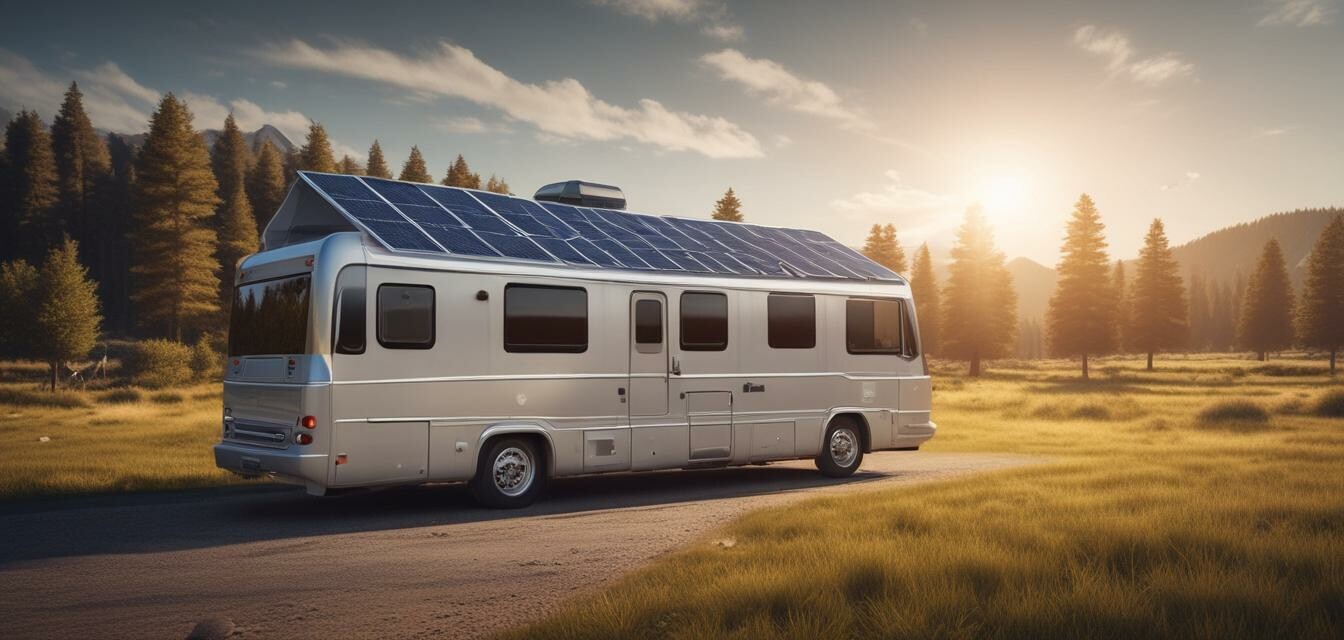
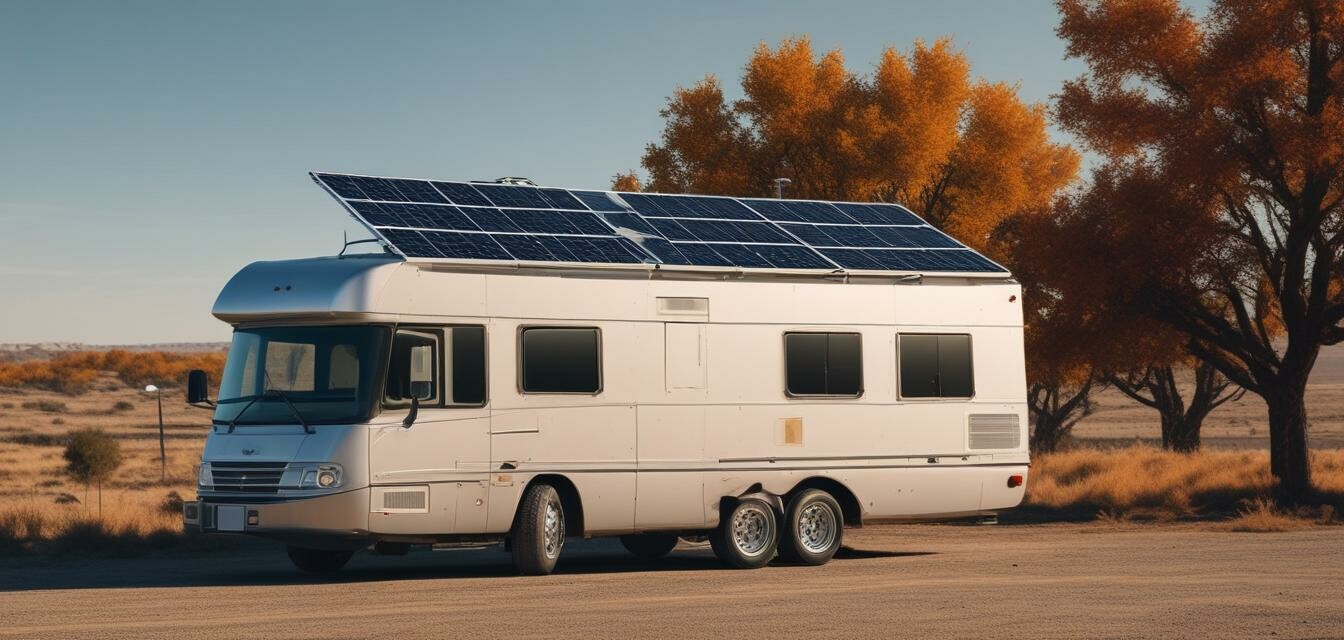
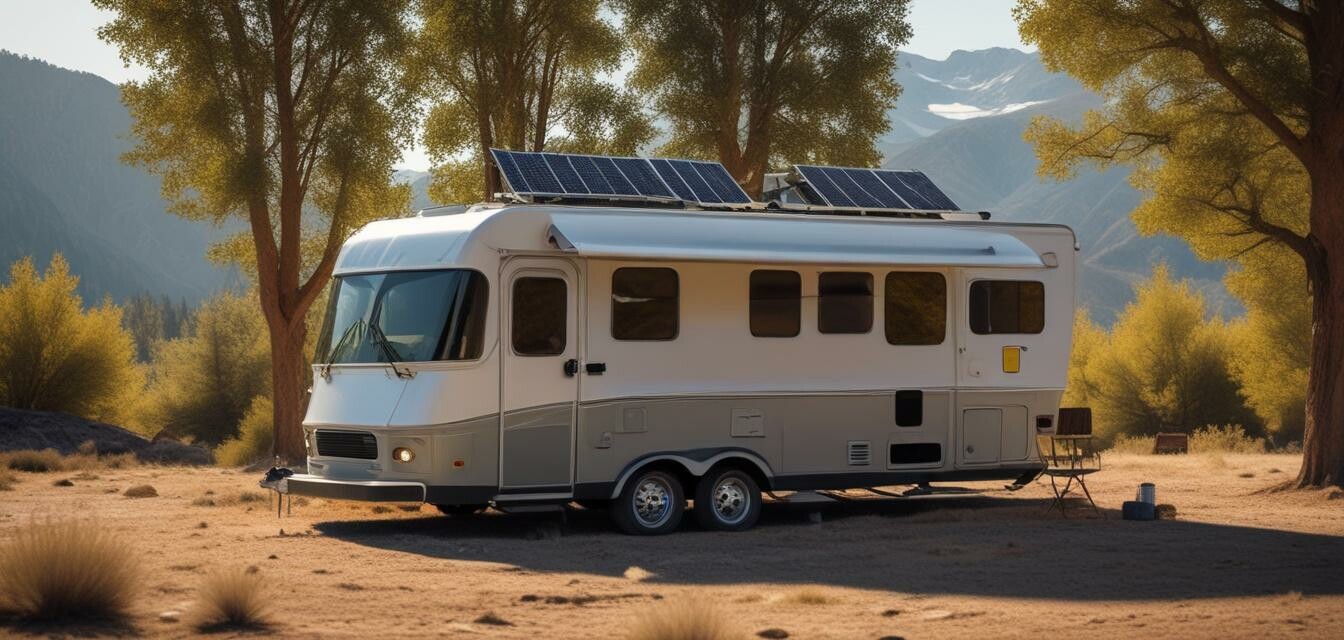
Are you looking to harness the power of the sun to fuel your RV adventures? Installing an RV solar kit can be a great way to increase your energy independence and reduce your reliance on traditional fuel sources. In this article, we'll provide step-by-step instructions and valuable tips to help you install your RV solar kit with confidence.
Key Takeaways
- Assess your energy needs and choose the right solar kit for your RV.
- Prepare your RV's roof and electrical system for installation.
- Follow a step-by-step installation process to ensure a safe and efficient setup.
- Test and maintain your solar kit to ensure optimal performance.
Before You Begin: Assessing Your Energy Needs
Before installing an RV solar kit, it's essential to assess your energy needs. This will help you choose the right kit for your RV and ensure you have enough power to meet your daily needs. Consider the following factors:
| Factor | Description |
|---|---|
| Appliances | What appliances do you plan to power with your solar kit? (e.g., lights, fridge, laptop) |
| Usage | How many hours per day will you use each appliance? |
| Battery Capacity | What is the capacity of your RV's battery bank? |
Once you've assessed your energy needs, you can choose a solar kit that meets your requirements. You can find a variety of solar kits on our Complete Solar Systems page.
Preparing Your RV's Roof and Electrical System
Before installing your solar kit, make sure your RV's roof and electrical system are ready. This includes:
- Clearing the roof of any debris or obstructions
- Ensuring the roof is structurally sound and can support the weight of the solar panels
- Upgrading your RV's electrical system to accommodate the new solar kit
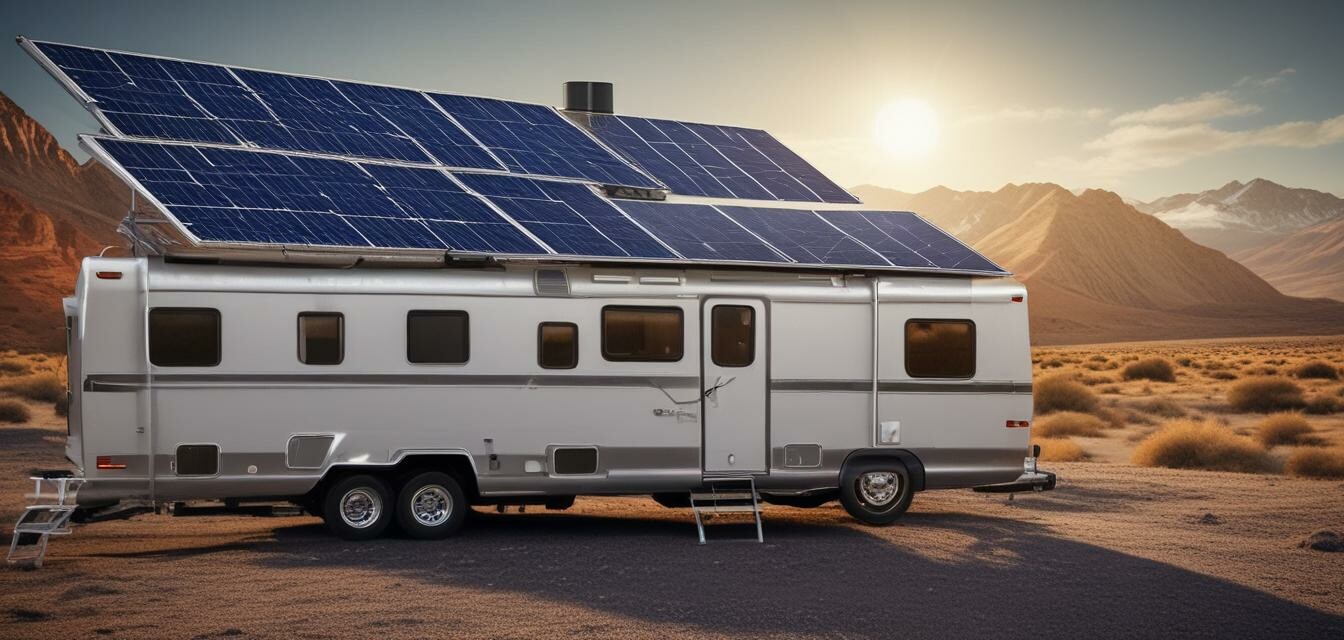
Step-by-Step Installation Process
Now that you've prepared your RV's roof and electrical system, it's time to install your solar kit. Follow these steps:
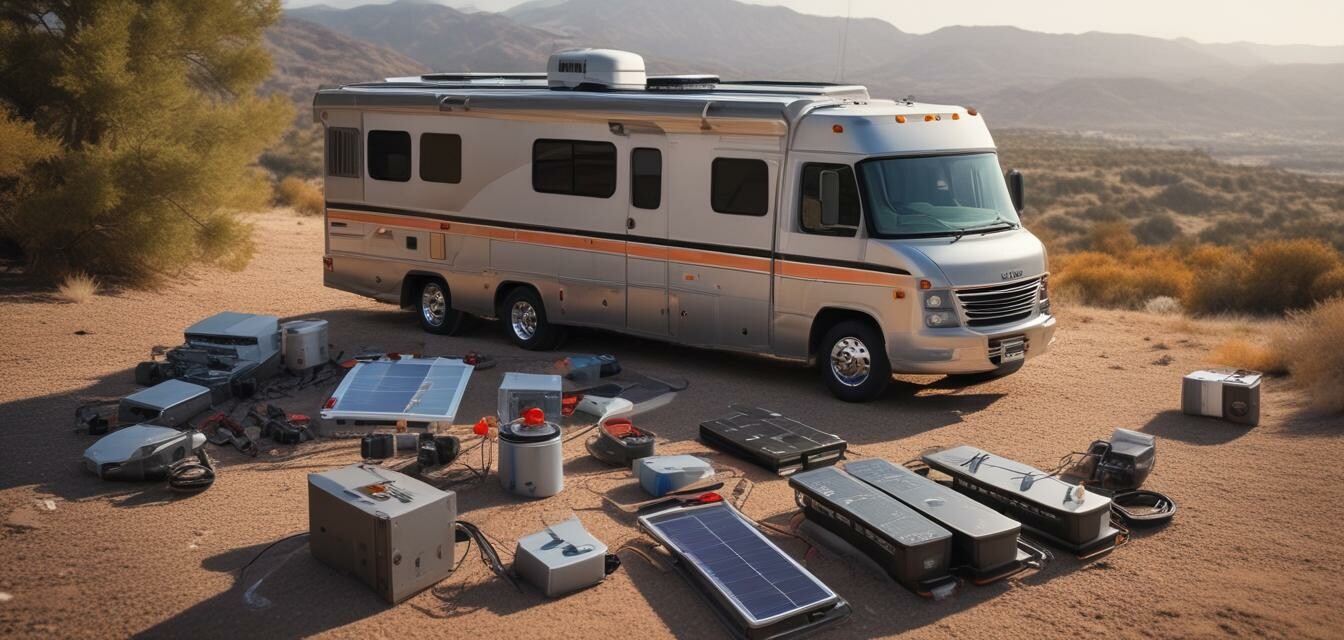
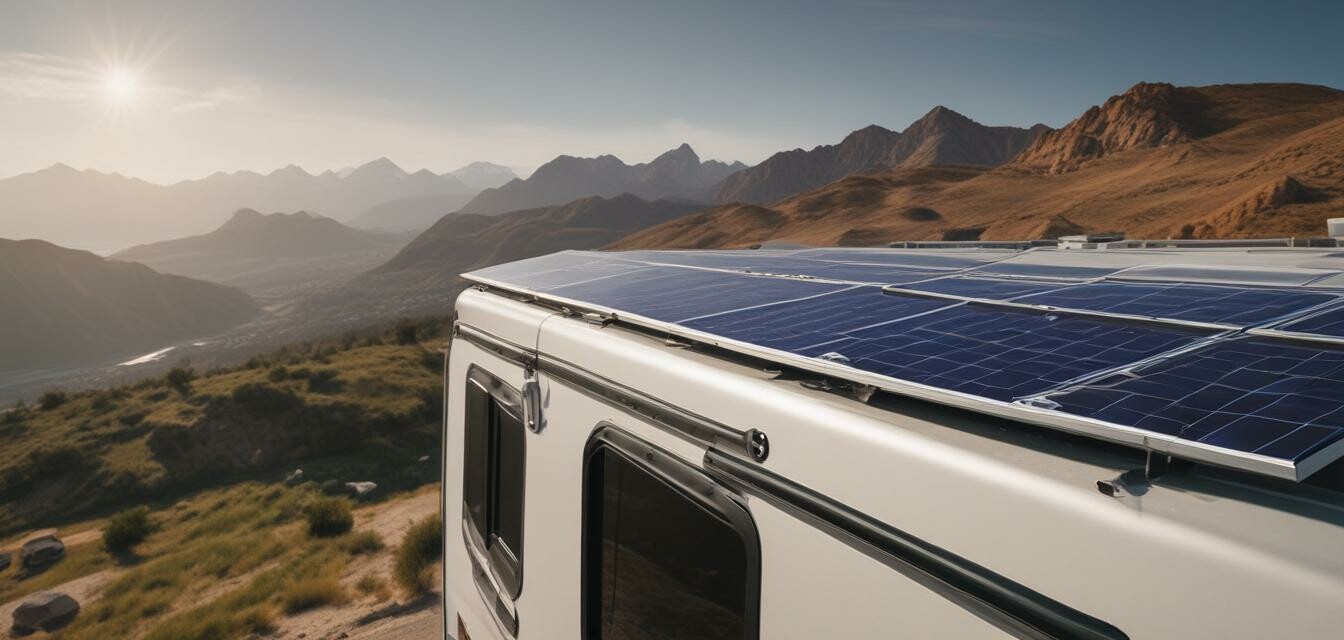
- Mount the solar panels to the roof using a mounting kit
- Connect the solar panels to the charge controller
- Connect the charge controller to the battery bank
- Connect the battery bank to the inverter
- Test the system to ensure it's working correctly
Testing and Maintaining Your Solar Kit
Once your solar kit is installed, it's essential to test and maintain it regularly to ensure optimal performance. This includes:
- Monitoring the system's performance using a solar charger controller
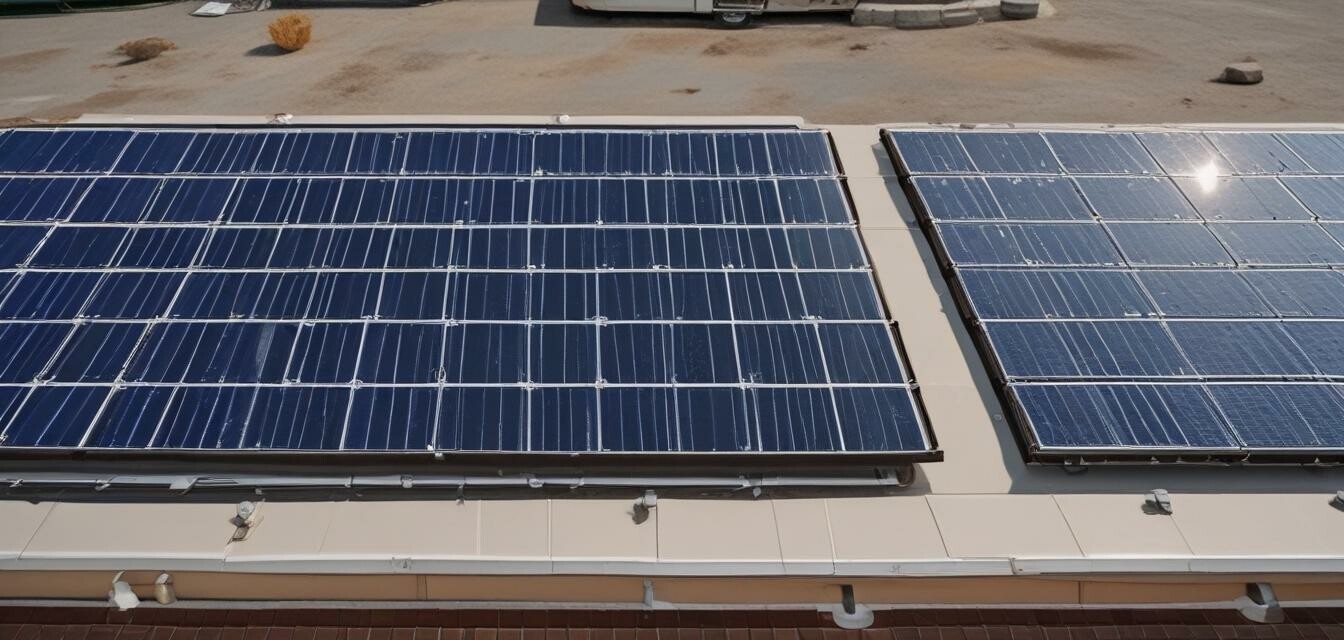
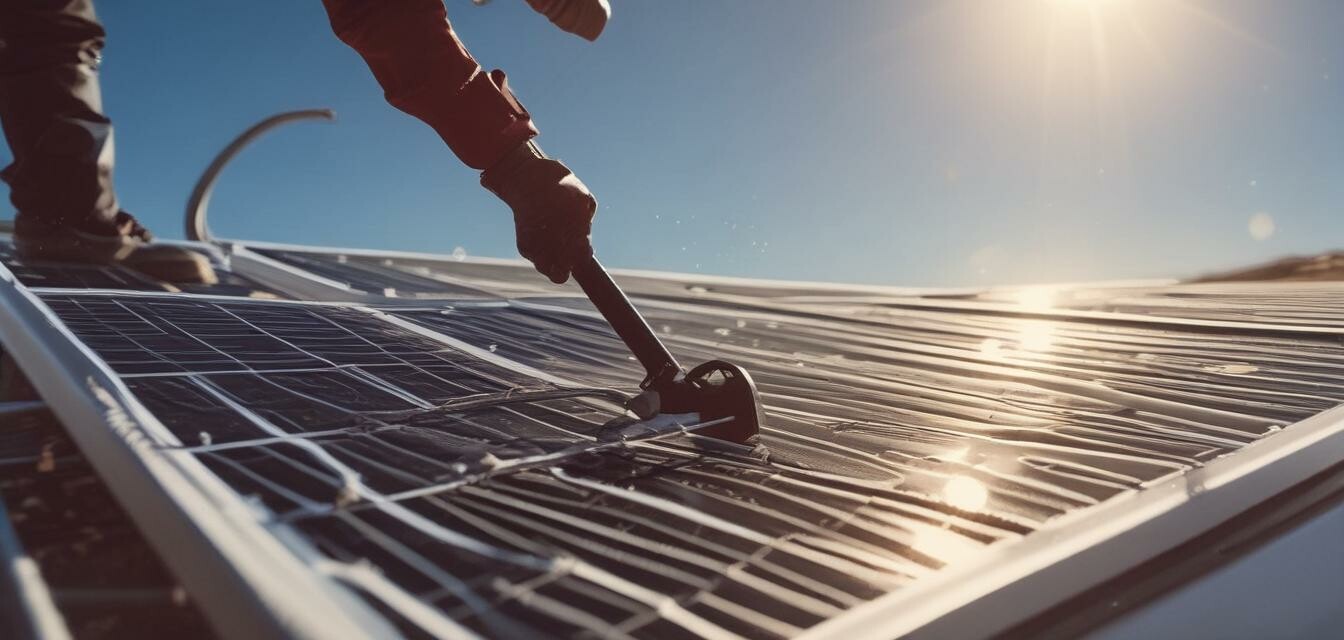
- Performing routine maintenance tasks, such as cleaning the solar panels
- Upgrading or replacing components as needed
Tips for a Successful Installation
Beginners Section
- Consider hiring a professional if you're not comfortable with heights or electrical work
- Always follow the manufacturer's instructions for the solar kit and its components
- Take your time and work methodically to avoid mistakes
Pros
- Increased energy independence
- Reduced reliance on traditional fuel sources
- Cost-effective in the long run
Cons
- Higher upfront cost
- Requires regular maintenance
- May not be suitable for all RV types or sizes
