Safety First: Best Practices for Solar Installations
Key Takeaways
- Understanding the importance of safety precautions during solar installations.
- Essential tools and materials needed for a successful setup.
- Step-by-step safety measures to follow during the installation.
- Common pitfalls to avoid to ensure a safe and efficient installation.
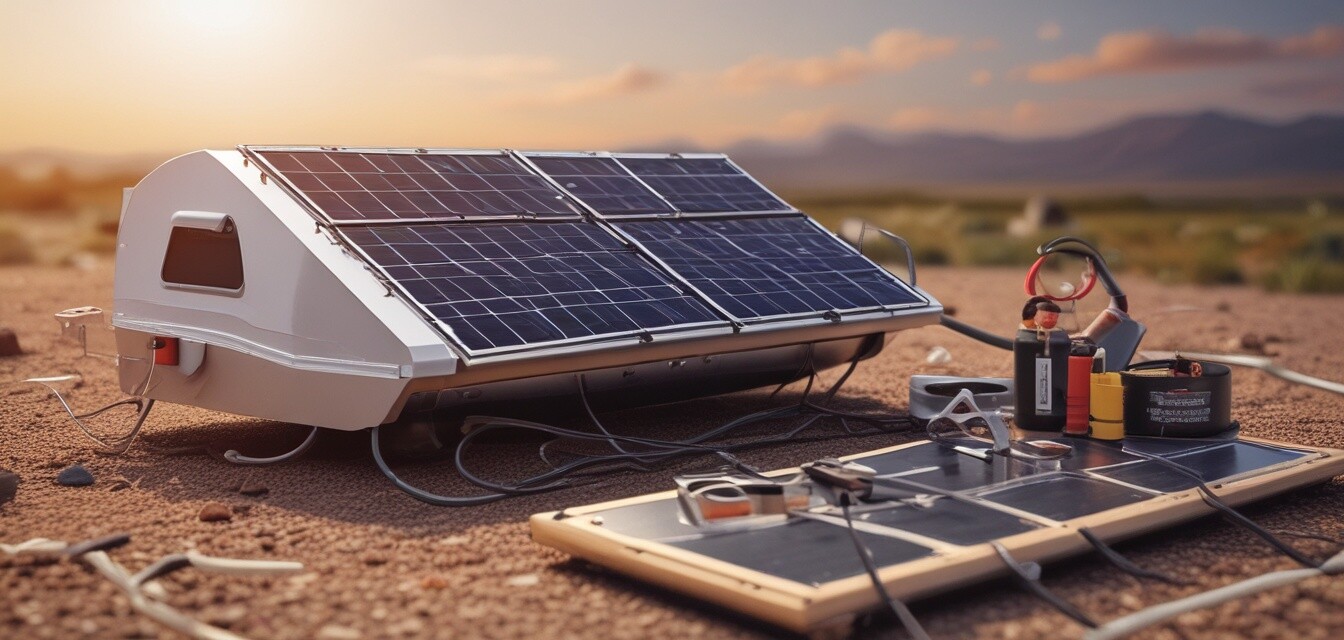
Installing solar panels on your RV is an exciting step towards energy independence. However, like any electrical installation, it requires careful consideration and adherence to safety protocols. In this article, we will explore the essential safety tips for installing solar systems on RVs, ensuring your setup is not only reliable but also safe from electrical hazards.
Understanding the basics of RV solar installations
Before diving into safety practices, it’s crucial to know how RV solar panels function. The solar panels collect sunlight and convert it into electricity, which powers your RV appliances and recharges your batteries. A typical RV solar system includes solar panels, a charge controller, batteries, and inverters.
Components of an RV solar power system
| Component | Function |
|---|---|
| Solar Panels | Collect sunlight and convert it into DC electricity. |
| Charge Controller | Regulates the charging process and prevents battery overcharging. |
| Batteries | Store generated energy for use when sunlight is not available. |
| Inverter | Converts DC electricity to AC electricity for household appliances. |
Essential safety precautions
Before beginning your installation, it's paramount to take the following safety precautions:
- Wear appropriate personal protective equipment (PPE).
- Ensure that your work area is dry and free of hazards.
- Read and understand the installation manuals for your components.
- Use tools correctly and avoid improvisation.
Step-by-step safety measures during installation
Follow these steps to ensure a safe installation process:
- Disconnect all power sources before starting the installation.
- Secure all panels and mounts properly to avoid shifting during transit.
- Are electrical connections waterproof and protected from corrosion?
- Keep wiring organized and away from high-traffic areas.
- Use fuses and circuit breakers to safeguard against overloads.
Tools and materials needed for installation
Gather these essential tools and materials before starting:
- Screwdriver set
- Wrench set
- Wire strippers and crimpers
- Drill and bits
- Electrical tape
- Mounting brackets and screws
Common pitfalls to avoid during installation
Being aware of common mistakes can enhance your safety and efficiency:
- Not double-checking all electrical connections.
- Forgetting proper grounding for your system.
- Neglecting regular maintenance of your solar system.
- Overloading your system by connecting too many devices.
Conclusion
By following these best practices and safety tips for solar installations on RVs, you can ensure a reliable power source and avoid common hazards associated with electrical work. Always prioritize safety to enjoy the benefits of solar power with peace of mind.
Tips for successful solar installation
- Consider hiring a professional if you’re uncertain about any step of the installation.
- Take your time and don’t rush the installation process.
- Check local regulations to ensure compliance with safety standards.
Pros
- Enhances energy independence for RV trips.
- Saves money on fuel for generators.
- Environmentally friendly energy source.
Cons
- Initial setup can be complicated.
- Requires maintenance and monitoring.
- Potential upfront costs for equipment and installation.
For more tips on optimizing your solar installation, check out our guides on installation tips and complete solar systems. Understanding proper techniques will vastly improve your experience and results!