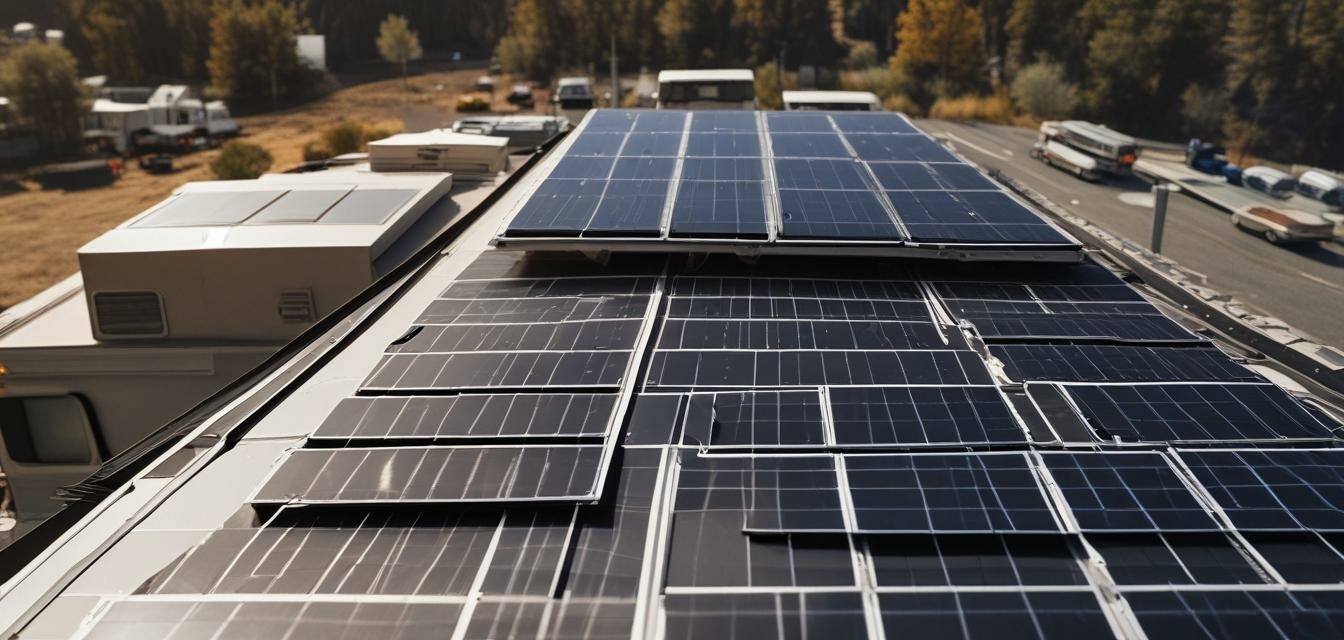
Installing solar panels on various RV roof types
Key Takeaways
- Understand your RV roof type before installation.
- Use appropriate mounting systems for flat, curved, and sloped roofs.
- Consider weatherproofing and sealing for optimal performance.
- Regular maintenance ensures longevity and efficiency of solar panels.
- Safety precautions are crucial during installation.
Installing solar panels on your RV is a great way to harness renewable energy while enjoying the great outdoors. However, every RV roof type presents its own set of challenges. This article aims to guide you through the installation process, focusing on the unique aspects of different RV roof types. Whether you have a flat, curved, or sloped roof, we've got the tips and solutions you need to make your solar installation a success.
Why solar power is essential for RVs
Solar panels provide a reliable source of energy that can enhance your RV experience. They allow you to power essential appliances and systems without relying on traditional grid electricity. Understanding how to properly install solar kits can maximize their efficiency and lifespan. For more information about various solar kits, visit our Complete Solar Systems page.
Overview of RV roof types
| Roof Type | Common Features | Challenges |
|---|---|---|
| Flat Roof | Easy to access, often found on older models | Poor drainage, increased risk of leaks |
| Curved Roof | Aerodynamic design, often seen on newer models | Difficult to mount panels securely |
| Sloped Roof | Popular in many RVs, ease of water drainage | Requires careful angle calculation for panel efficiency |
Installing solar panels on flat roofs
Flat roofs make the installation process straightforward. Here are some important considerations:
- Ensure you have proper drainage to avoid water pooling.
- Use adhesive mounting systems for enhanced stability.
- Seal all edges with a waterproof sealant to prevent leaks.
Step-by-step guide for flat roofs
- Clean the roof surface thoroughly.
- Measure and mark the areas for panel placement.
- Apply mounting brackets or adhesive based on the chosen method.
- Attach the solar panels and secure them with screws.
- Connect the wiring and install a charge controller.
Installing solar panels on curved roofs
Curved roofs pose unique challenges, but with the right techniques, you can still achieve a successful installation:
- Opt for flexible solar panels that can conform to the roof's shape.
- Use specialized mounting systems designed for curved surfaces.
- Regularly check for any shifting of panels due to movement.
Step-by-step guide for curved roofs
- Evaluate the curvature to determine panel layout.
- Choose flexible solar panels that suit your roof's features.
- Secure the panels with the recommended mounting equipment.
- Complete electrical connections carefully.
Installing solar panels on sloped roofs
Sloped roofs are among the most common RV designs. Follow these tips to ensure a successful installation:
- Choose mounts that allow for adjustment according to roof angle.
- Align the solar panels for optimal sun exposure based on the slope.
- Ensure all connections are water-tight and secure.
Step-by-step guide for sloped roofs
- Identify the optimal angle for solar panel placement.
- Install adjustable mounts that accommodate the slope.
- Secure the panels and double-check all wiring connections.
- Perform a final inspection to ensure efficiency.
Important safety tips
Before beginning any installation, keep the following safety measures in mind:
- Always wear safety gear, including gloves and goggles.
- Use weatherproof tools to avoid any risks during installation.
- Ensure you have a firm footing and maintain balance while working on the roof.
Maintenance tips for solar panels
Once your solar panels are installed, regular maintenance will help to ensure their longevity:
- Check connections and wiring regularly for wear and tear.
- Clean the panels periodically to remove dirt and debris.
- Inspect mounting systems to ensure stability and integrity.
To learn more about optimizing your entire solar system, visit our Buying Guides blog for comprehensive tips.
Pros
- Enhances energy independence
- Low maintenance cost
- Environmental benefits of renewable energy
Cons
- Initial installation can be time-consuming
- Potential structural challenges based on roof type
Conclusion
Installing solar panels on your RV is not only a great way to enhance energy independence but also an investment that can pay off in the long run. By carefully considering your RV's roof type and following the outlined installation steps, you'll be well on your way to enjoying the freedom of sustainable energy on the road.
For tips on choosing the best solar chargers and controllers to complement your system, visit our Solar Chargers and Controllers page.
Additional resources
Explore more about the different components of an RV solar power system and how to optimize them effectively. Check out our complete guides on: