Expert Tips for Installing a Complete Solar System
Key Takeaways
- Understand the components of a complete solar system.
- Follow a step-by-step installation guide for optimal results.
- Utilize proper tools and safety measures during installation.
- Common pitfalls to avoid for a successful setup.
- Regular maintenance tips for long-term efficiency.
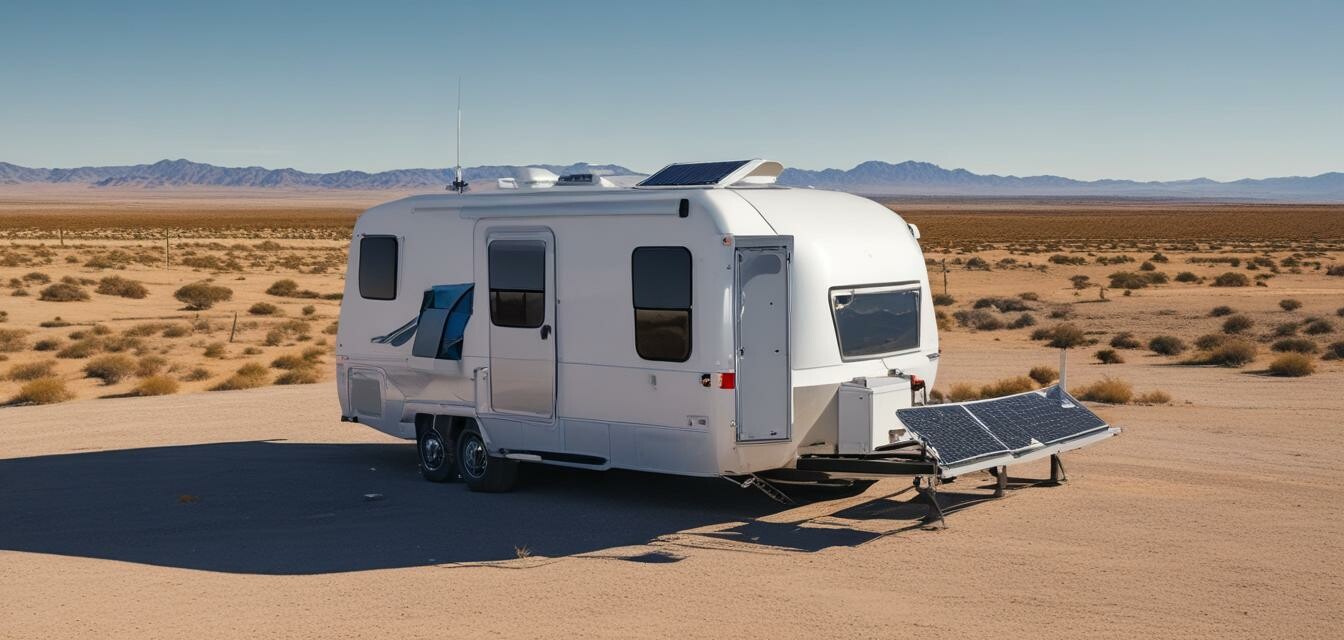
Installing a complete solar power system in your RV can greatly enhance your energy independence and provide the freedom to explore without worrying about power sources. With this step-by-step guide, you'll learn the essential tips to ensure a successful and efficient setup.
Understanding the components of a solar power system
A complete solar power system for your RV typically consists of several key components:
| Component | Description |
|---|---|
| Solar Panels | Convert sunlight into electricity to power your RV. |
| Battery System | Stores energy generated by solar panels for later use. |
| Inverter | Converts DC power from batteries to AC power for appliances. |
| Mounting Kit | Holds solar panels securely to the RV. |
| Charge Controller | Regulates the voltage and current coming from the solar panels to the batteries. |
Step-by-step installation guide
Step 1: Gather your tools and safety gear
Before you start the installation, ensure you have the necessary tools and safety gear:
- Drill and drill bits
- Wrenches
- Screwdrivers
- Cable cutters
- Safety glasses
- Work gloves
Step 2: Install the solar panels
Follow these steps to install the solar panels on your RV's roof:
- Choose a location with optimal sunlight exposure.
- Securely attach the mounting kit to the roof.
- Position the solar panels in the mounting kit and secure them.
Step 3: Set up the battery system
Select a location to install your battery system, usually within the RV's storage compartment:
- Secure the batteries using brackets.
- Connect batteries in parallel or series based on your system requirements.
- Ensure proper ventilation for the batteries.
Step 4: Install the inverter
Place the inverter in a dry, secure location within your RV:
- Connect the inverter to the battery system.
- Ensure all connections are tight and secure.
- Follow the inverter’s manual for specific wiring instructions.
Step 5: Connect the charge controller
Install the charge controller close to the battery system:
- Connect it to the batteries following the manual instructions.
- Connect the solar panels to the charge controller.
Common pitfalls to avoid
While installing a solar power system, keep these common pitfalls in mind:
- Improper panel positioning leading to reduced sunlight exposure.
- Loose connections causing energy loss.
- Neglecting safety protocols while handling electrical components.
- Not checking compatibility of components.
Maintenance tips for long-term efficiency
To ensure your RV solar system runs smoothly for years, follow these maintenance tips:
- Regularly clean the solar panels to remove dust and debris.
- Check and tighten connections periodically.
- Monitor battery levels and charge conditions regularly.
- Inspect the system for any signs of wear or damage.
Further reading and resources
For more information on enhancing your RV’s solar system, check out our other articles:
- Buying guides for solar kits
- Battery systems for RV solar
- Latest news & trends in RV solar
- Inverters for RVs
- More installation tips
Pros
- Increased energy independence
- Environmentally friendly energy solution
- Potential cost savings on electricity
- Quiet operation with no fuel needed
Cons
- Initial setup costs can be high
- Requires regular maintenance
- Performance may vary based on weather conditions