Essential Tools for Installing RV Solar Kits
Key Takeaways
- Having the right tools ensures a smooth installation process.
- Safety equipment is crucial for protecting yourself.
- Familiarize yourself with common electrical tools and their uses.
- Check local regulations for any installation requirements.
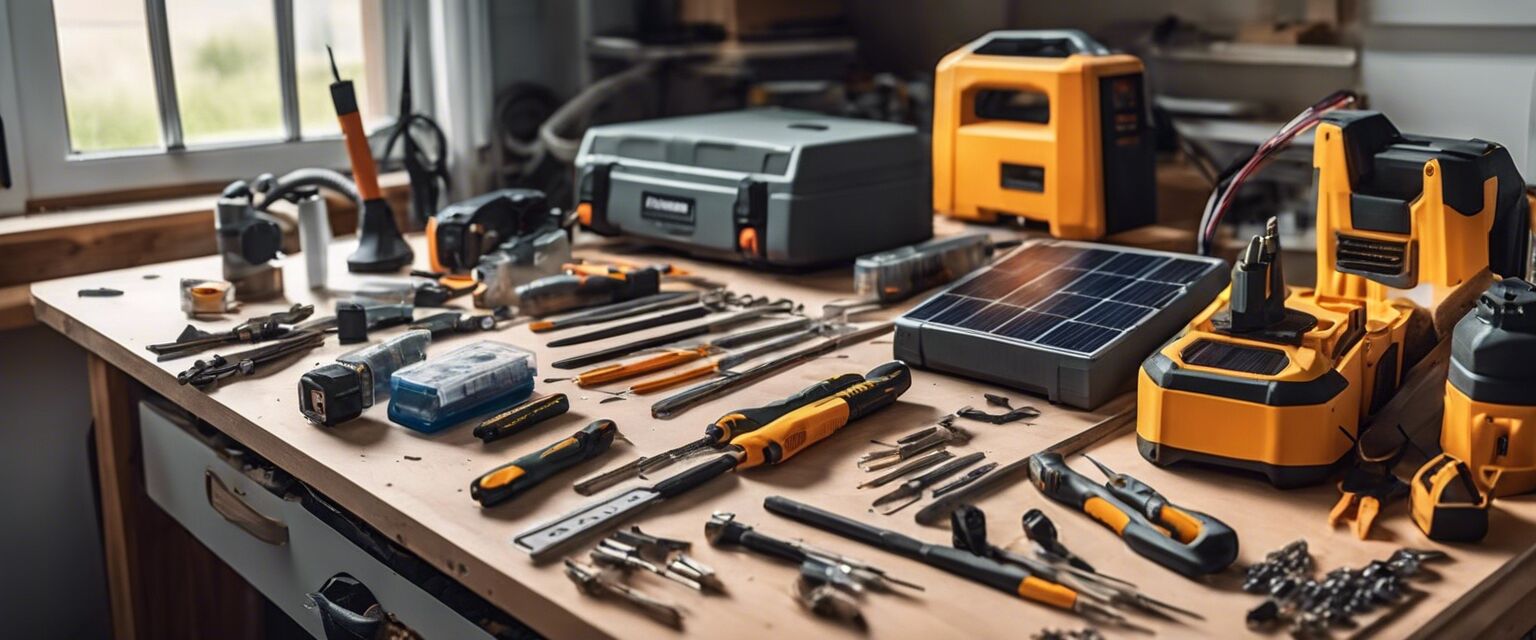
Installing an RV solar kit can be a rewarding project for any DIY enthusiast, offering both energy independence and the potential for off-grid adventures. However, having the right tools is essential to ensure a successful installation. This guide outlines the necessary tools and equipment you'll need to prepare for your RV solar power project.
Must-Have Tools for RV Solar Kit Installation
| Tool | Description |
|---|---|
| Screwdrivers | A set of flat and Phillips screwdrivers for various screws encountered during installation. |
| Drill | For creating holes for mounting your solar panels and other fixtures. A cordless drill is often preferred for ease of use. |
| Wire Strippers | To remove the insulation from electrical wires without damaging them. |
| Multimeter | A vital tool for checking voltage and ensuring your connections are correct and functional. |
| Voltage Tester | Helps you verify that your connections are live and working properly. |
| Wire Connectors | For joining wires together securely and ensuring electrical continuity. |
| Stud Finder | Useful for locating beams in the roof or walls of your RV to secure panels and accessories. |
| Level | A simple tool to ensure your solar panels are installed straight and secure. |
Safety Equipment
In addition to installation tools, safety should always be a priority. Here are some essential safety items to have on hand:
- Safety Glasses: Protect your eyes from debris.
- Gloves: To protect your hands from sharp objects and live wires.
- Mask: If you're using materials that may create dust or particles.
Preparation for Installation
Before diving into the installation process, you need to ensure your workspace is organized and all tools are easily accessible. Here are some tips to streamline your preparation:
Preparation Tips
- Gather all necessary tools and equipment beforehand to avoid unnecessary trips.
- Read through your solar kit's instruction manual to familiarize yourself with the components.
- Inspect your RV to determine the best mounting locations for the solar panels.
- Plan for weather conditions; ensure to work during favorable weather to prevent issues.
Common Pitfalls to Avoid
A successful installation starts with understanding potential pitfalls. Here are a few common mistakes to avoid:
- Not double-checking your connections can lead to system failures.
- Over-tightening screws and bolts may damage the panels or the RV's structural integrity.
- Ignoring local regulations regarding installation heights and equipment.
Conclusion
Installing an RV solar kit provides freedom and flexibility in your travel adventures. By preparing adequately with the right tools and safety equipment, you can enjoy a smooth installation process. If you are new to this setup, check out our Buying Guides for more information on choosing the best solar products. Also, visit our Installation Tips for additional advice to guide you through your project successfully.
Pros
- Empowers DIY enthusiasts to take control of their energy needs.
- Can save money compared to professional installation.
- Enhances RV capabilities for off-grid living.
Cons
- Requires time and effort to install properly.
- Potential for mistakes if unfamiliar with electrical systems.
- Initial costs for tools and kits can be significant.
Further Reading
For more detailed insights into the components that make up RV solar systems, visit our pages on Complete Solar Systems, Inverters for RVs, and Solar Chargers and Controllers to enhance your understanding of what is required for a fully functional solar setup.